PNG Shrink Studio
Getting Past Etsy's 20 MB Wall Without Wrecking Your Artwork
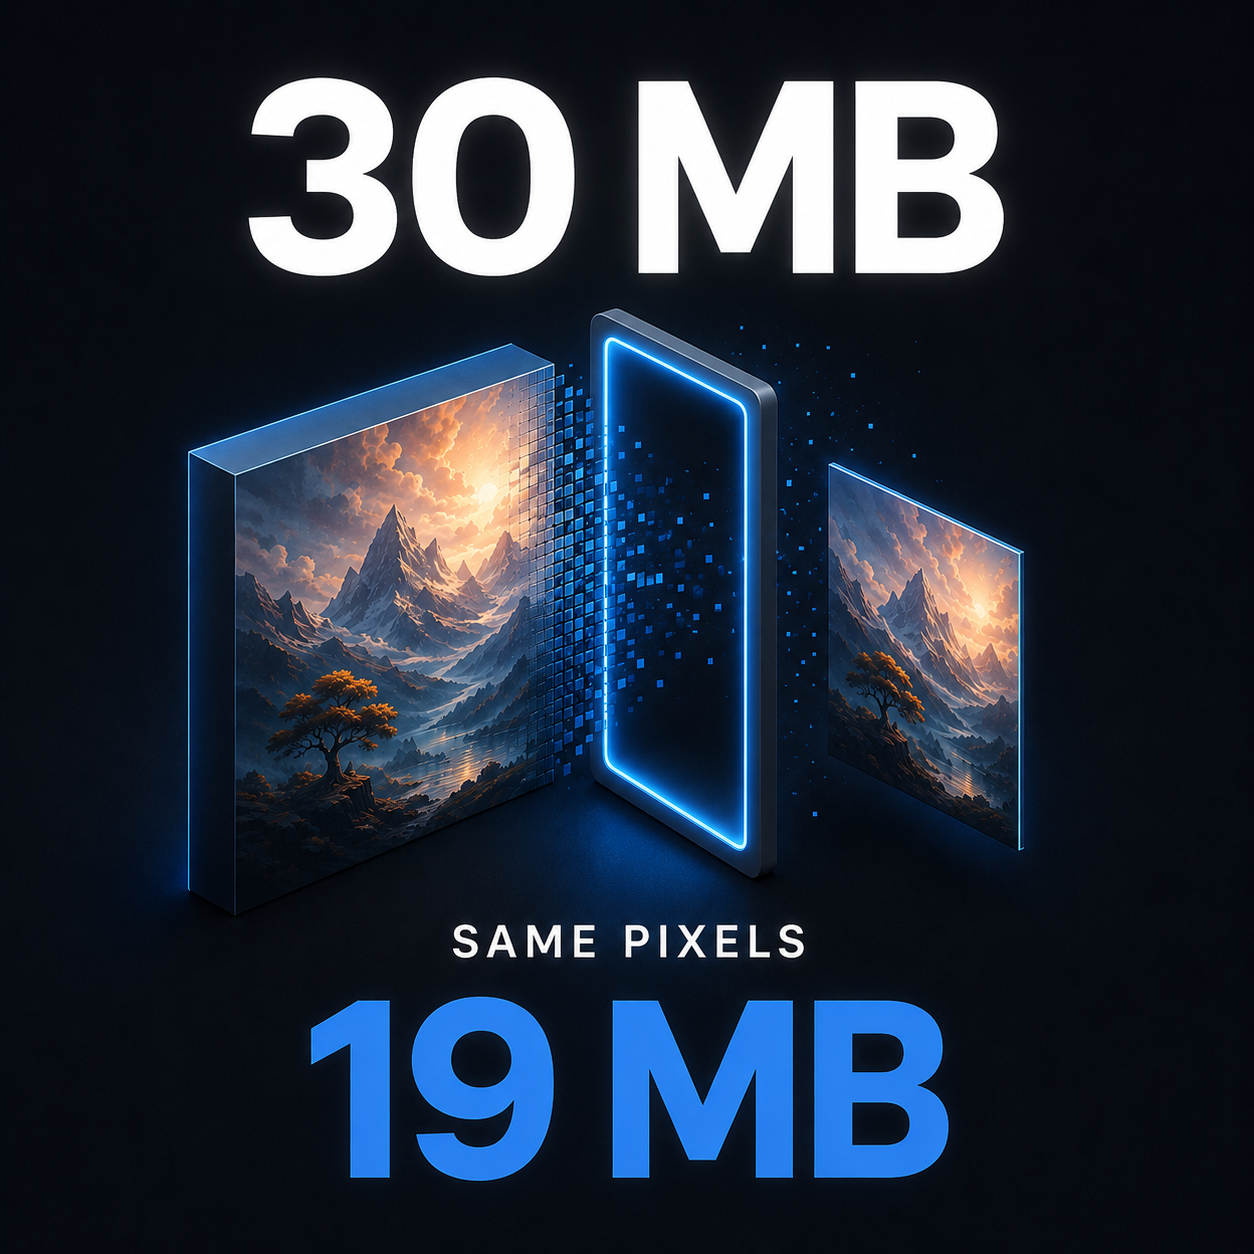
 Anyone selling digital downloads on Etsy eventually runs into the same wall: every file you upload has to be under 20 MB. The trouble is that a 4500×5400 pixel design at 300 DPI — the kind of file a customer can actually print at home and be happy with — routinely lands somewhere between 25 and 30 MB. You're over by a few megabytes. Etsy does not care that it's only a few.
At that point most sellers do one of two things, and both are bad. They drop the resolution, and the customer ends up printing something soft and mushy. Or they convert to JPEG, which kills transparency and leaves compression artifacts that show up in print far more than they do on screen. PNG Shrink Studio came out of the idea that neither compromise is actually necessary.
What the app actually does
The short version: it takes a folder of PNG files, gets them under whatever size you're targeting, and leaves them as PNGs. Pixel dimensions don't change. The 300 DPI metadata survives. Your customer downloads a file they can print at the same size you intended.
The interesting part is that for most files it manages this with no quality loss at all. The reason is simple: PNGs that come out of Photoshop are almost never optimally compressed. Photoshop is optimizing for a fast save, not for the smallest possible file. The slack it leaves behind is bigger than you'd guess.
The app works in four stages and stops the moment it hits your target — so it never does more damage than the job requires.
Stage one: dropping a pointless alpha channel. Photoshop tends to save files as RGBA, meaning it stores a transparency value for every single pixel. But if your design has no transparent areas at all, that channel is dead weight — you're carrying 4500×5400 bytes that all say "fully opaque." The app checks whether the alpha channel is genuinely opaque from edge to edge, and if it is, drops it. In my testing that step alone took a file from 33.6 MB down to 27.8 MB. Not a single pixel changed; it just stopped hauling something it didn't need.
This one needs care, because transparent backgrounds are extremely common in print-on-demand artwork. If there's any real transparency in the file, the app leaves the alpha channel alone.
Stage two: converting to a palette. If your design uses fewer than 256 distinct colors — flat-color typography pieces, anything exported from vector, minimal illustration work — it can be stored as PNG-8, which uses one byte per pixel instead of three. This conversion is mathematically lossless: no color is lost, it's just stored more efficiently. After converting, the app compares the result against the original pixel by pixel, and if they're not byte-for-byte identical it throws the conversion away and keeps the original. Belt and braces.
Stage three: oxipng. Under the hood, PNG uses DEFLATE compression, and before compressing it applies a "filter" to each row of pixels. Which filter works best on which row varies from image to image, and Photoshop doesn't bother searching for the best combination. oxipng does. The gain is usually 10–25%, and the output is still bit-for-bit identical to what you started with.
After those three stages, the file you have is indistinguishable from the original — because there is nothing to distinguish. It's the same image, byte for byte.
Stage four: color reduction. This only kicks in if the first three stages didn't get you there, and it's off by default. When you enable it, the app steps the color palette down gradually: it tries 256 colors first, then 192, then 128, and so on. It stops at the first setting that fits, so it never degrades the image more than necessary. The output is still a PNG. This stage is technically lossy, but at 256 colors the difference is generally invisible to the eye.
Why there's no pngquant
My first plan for this was to use pngquant — it's more or less the industry standard for this job. Then I benchmarked the two side by side and got a surprise: Pillow's own quantize function, using the MEDIANCUT method, produced a file that was both smaller and higher quality. On the same test image pngquant gave 5.26 MB at 32.3 dB PSNR, while Pillow gave 1.97 MB at 35.1 dB.
That changes a lot from the user's side. pngquant is an external program — on Windows you'd be downloading an exe and adding it to your PATH, on Mac you'd need Homebrew. None of that applies now. The app is a single file, and its dependencies install with one pip command.
The actual numbers
It's worth being straight about the test results, because how much you save depends heavily on what's in the image.
I built a deliberately difficult test file: 4500×5400, heavy on gradients and texture, 33.6 MB. Images like this resist compression more than almost anything else.
- Stage
- Size
- Any loss?
- Original
- 33.60 MB
—
- Alpha dropped
- 27.79 MB
- None
- oxipng
- 25.10 MB
- None
- Color reduction (256 colors)
- 1.97 MB
- Yes, but not visible
Here's the part worth paying attention to: on this file the lossless stages stalled at 25.10 MB, which means they did not hit a 20 MB target. On flat-color, typographic, or vector-based designs the lossless stages are usually more than enough — the flat design in the same test went from 0.14 MB to 0.03 MB.
If your files average around 29 MB and your designs contain areas of flat color, I'd run it first with color reduction turned off. The app lists any files that missed the target at the end of the run, so you can go back and enable the second stage for just those.
What you need on Windows
Python 3.9 or newer. Grab it from python.org. During installation, tick the "Add Python to PATH" box — if you skip it, pip won't work from the command line and fixing it afterward is more annoying than it should be.
Three Python packages. Open Command Prompt and run:
pip install pyoxipng pillow numpy
That's it. tkinter ships with Python on Windows, so there's nothing else to install. No external programs, no exe files, no DLLs.
To run it, double-click the file. The interface opens with Segoe UI and Consolas; if those aren't available on your system it falls back to Tahoma and Arial automatically.
What you need on macOS
There's one wrinkle on Mac: the system Python that ships with macOS tends to be old and its tkinter support can be unreliable. Installing Python separately is the cleanest path.
With Homebrew (recommended):
brew install python-tk
This pulls in Python along with working tkinter support. If you don't use Homebrew, the official installer from python.org also includes tkinter — either of those is preferable to the system Python or an App Store version.
Then the same three packages:
pip3 install pyoxipng pillow numpy
On Mac you'll usually need pip3 rather than pip.
To run it, open Terminal and enter:
python3 png_shrink_studio.py
If you'd rather launch it by double-clicking, rename the file with a .command extension and run chmod +x png_shrink_studio.command in Terminal. The first time you open it, macOS may warn you about an unidentified developer — you can approve it under System Settings → Privacy & Security.
On Mac the interface uses SF Pro Text and SF Mono, falling back to Helvetica Neue and Menlo. Because macOS renders type larger than Windows does, the base font size adjusts automatically, so the layout looks the same on both.
Notes that apply everywhere
The app runs the work on a separate thread, so the interface doesn't freeze on large files and you can hit Stop whenever you want.
You're not allowed to set the output folder to the same folder as the input — that's a guard against overwriting your originals. It's still worth keeping a backup of the source files somewhere separate, out of habit.
Set your expectations on speed: oxipng is slow on files this size. In my testing a 33 MB file took roughly 100 seconds. If you've got hundreds of files, running it overnight is a reasonable plan. The app currently processes files one at a time; adding parallel processing on a multi-core machine would cut that down substantially.
One last thing: leave the target at 19.5 MB. Etsy's limit is 20 MB, but sitting right on the line is a needless risk — a few hundred kilobytes of headroom saves you from upload failures.
In short
Etsy's 20 MB limit is a real constraint, but it doesn't have to cost you any quality. The compression slack Photoshop leaves behind is enough to close the gap on most files — and closing it that way doesn't change a single pixel.
What you need is the same on both platforms: Python, three packages, one file.
Download Link